Merchandise Design Best Practices for Brand Managers

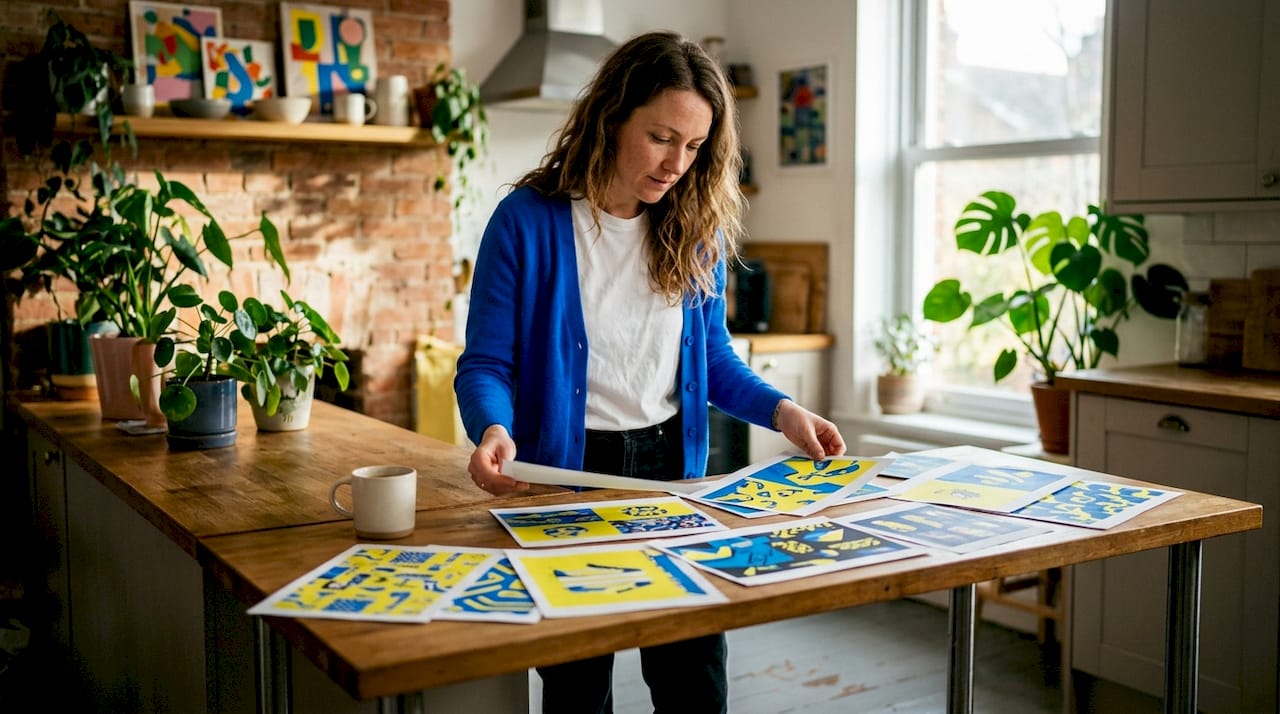
Merchandise design best practices are the combination of technical precision, brand alignment, and audience insight that separates products people wear proudly from items that collect dust. For designers, product developers, and brand managers, getting this right means understanding print standards, community psychology, and launch strategy as one connected system. Vainnewyork has built its creative approach around exactly this philosophy: that great merchandise tells a story before anyone reads a single word on the tag. The sections below break down each layer of that system into clear, repeatable steps.
1. What technical standards ensure quality merchandise printing?
Print quality is the foundation of every effective merchandise design. A file that looks sharp on screen can print blurry, color-shifted, or pixelated if it does not meet production specifications. Getting the technical side right before you design a single element saves money and protects your brand’s reputation.
Design files for print-on-demand must be at least 300 DPI, with a recommended size of 5,000 x 5,000 pixels in PNG format with a transparent background. That specification exists because most print providers render at 300 DPI, and anything below that threshold produces visible grain at standard apparel sizes.
Key technical requirements for print-ready files:
Resolution: 300 DPI minimum at final print size
Dimensions: 5,000 x 5,000 pixels for full-coverage designs
Format: PNG with transparent background for apparel placement
Color mode: CMYK for offset print, RGB for direct-to-garment (DTG)
Safe zones: Keep critical design elements at least 0.5 inches from any edge
Zoom your design to 100% in your editing software before export. If it looks soft at that scale, it will print soft. Vector artwork in formats like AI or EPS scales without quality loss, making it the preferred base for any logo or typographic element.
Pro Tip: Download the print provider’s official template for each product before you design. Templates include safe zones, bleed areas, and color profiles that prevent the most common and costly print errors.
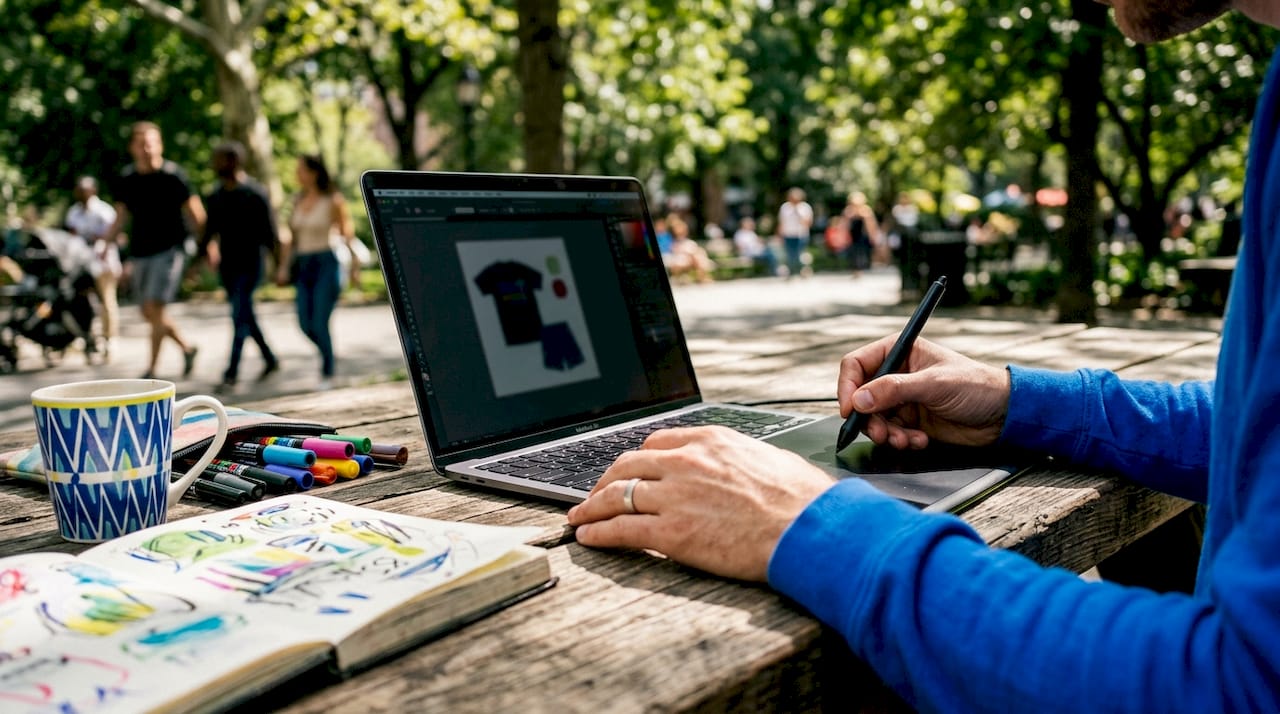
2. How to design merchandise your audience actually wants to wear
Over-logoing is the single biggest merchandise design mistake brands make. Fans prefer apparel that feels wearable, with subtle branding or community-focused symbols rather than a logo plastered across the chest. The goal is to create something a person would choose to wear even if they had never heard of your brand.
Audience-centered design starts with understanding what your community already signals to each other. Inside jokes, shared references, and visual motifs that only your audience recognizes create a sense of belonging that a generic logo never can. This is why community merchandise consistently outperforms standard branded apparel in both sell-through rate and repeat purchases.
Build a tight design family rather than a collection of unrelated pieces. A design family shares:
A consistent color palette of three to five colors used across every product
A defined type system with one primary and one secondary typeface
Modular phrases or motifs that can be rearranged across different items
A clear visual hierarchy so the most meaningful element always reads first
A cohesive merch line functions as a system rather than a set of individual items. That system approach lets you add seasonal variations or sub-niche products without starting from scratch every time.
Pro Tip: Share early design concepts with your audience through polls or preview posts. Treating your audience as collaborators builds anticipation and prevents costly design misalignment before production begins.
3. What launch strategies balance risk and maximize impact?
The micro-drop model is the most effective launch structure for brands entering or expanding their merchandise program. Releasing 100–250 units per SKU for apparel, paired with a 72-hour main drop window following a two-week pre-launch period, generates urgency without overcommitting inventory. That structure keeps financial exposure low while creating the scarcity that drives purchase decisions.
A staged launch sequence looks like this:
Two weeks before drop: Announce the collection with behind-the-scenes design content
One week before drop: Share product photography and sizing details
48 hours before drop: Open a waitlist or early-access sign-up
Drop day: Open the 72-hour purchase window with a clear close time
Post-drop: Share sell-out announcements and waitlist data to inform the next release
Start with print-on-demand to eliminate upfront inventory risk. Once a design sells 50 units, shift to bulk production. Bulk orders reduce per-unit cost significantly, which improves margin without requiring a price increase. That shift is also the moment to review sizing data from the first run and adjust your size curve for the bulk order.
Pro Tip: Use sales data from your first drop to refine your size distribution. Most brands underorder large sizes and overorder mediums. Real purchase data corrects that assumption immediately.
4. How to build a design engine for multiple product types
One master design can generate 10–15 distinct products when built with the right structure. The design engine approach starts with a square format master file, typically 12 x 12 inches, that serves as the adaptable base for every product in your line. From that single file, you crop, scale, and reposition elements to fit apparel, accessories, and hard goods without losing visual consistency.
Different product categories require different design treatments. The table below shows how a single core design adapts across product types:
Product type | Design adaptation | Key consideration |
T-shirt (chest) | Centered crop, 10–12 inch wide | Safe zone from collar and sleeves |
Hoodie (back) | Full-width version, large scale | Account for seam interruption |
Tote bag | Full square or landscape crop | High contrast for canvas texture |
Mug (wrap) | Panoramic strip version | Design must read at 360 degrees |
Sticker sheet | Icon-only elements extracted | Transparent background required |
Product-specific templates and test prints are non-negotiable for maintaining design integrity across categories. A design that looks balanced on a shirt can feel cramped on a mug or lost on a tote. Order samples before committing to a full production run on any new product type.
The most scalable design elements are clean icon and text combinations, repeating pattern styles, and single-color typographic treatments. These formats reproduce accurately across DTG printing, screen printing, embroidery, and sublimation without requiring separate artwork for each method.
5. Why professional presentation drives merchandise sales
Professional photography is not optional for merchandise that sells. Investing $500–$1,500 in quality product photography pays for itself in higher conversion rates and fewer returns. Buyers need to see realistic fit, accurate color, and true texture before they commit to a purchase. Blurry or flat product images signal low quality, regardless of how good the actual product is.
Effective merchandise photography covers three angles:
Flat lay: Shows the full design clearly against a clean background
On-model: Demonstrates fit, scale, and how the garment moves
Detail shot: Captures texture, print quality, and finishing details up close
Behind-the-scenes content performs as well as finished product photography for building trust. Showing the design process, print production, and packaging creates authentic excitement that a polished sales image cannot replicate alone.
“Regular production updates make the wait feel intentional and exclusive. Post-purchase communication every 7–10 days during pre-sale orders reduces buyer anxiety and chargebacks by keeping customers informed and invested in the process.”
Transparent communication during long production windows is one of the most underused tools in merchandise branding strategies. Customers who feel informed become advocates. Customers who feel ignored become chargebacks.
Key takeaways
Effective merchandise design requires technical precision, audience-centered thinking, and a modular system that scales across products and launches without losing brand integrity.
Point | Details |
Technical standards matter first | Use 300 DPI, 5,000 x 5,000 px PNG files to prevent print quality failures. |
Subtle branding outperforms logos | Community symbols and wearable designs sell better than logo-heavy apparel. |
Micro-drops reduce financial risk | Launch 100–250 units per SKU with a 72-hour window to test demand before scaling. |
One design engine, many products | A 12 x 12 inch master file adapts across 10–15 product types with proper cropping. |
Photography and communication convert | Invest in professional images and send updates every 7–10 days during pre-sale windows. |
What I’ve learned from building merch that actually moves
The brands that struggle with merchandise almost always make the same mistake: they design for themselves instead of their audience. I have seen beautifully crafted collections fail because the designer fell in love with a concept the community never asked for. The fix is not better design software. It is earlier and more honest conversation with the people you are making things for.
The shift from print-on-demand to bulk production is the moment most creators leave money on the table. They stay in POD out of comfort long after their sales data justifies a bulk run. Once you hit that 50-unit threshold on a design, the margin difference in bulk is significant enough to fund your next collection. That reinvestment cycle is what separates a one-time merch experiment from a real product line.
Professional photography changed everything for the brands I have worked with. Not because it made the products look different, but because it made buyers feel confident. Confidence converts. Anxiety does not. The same logic applies to post-purchase communication: a simple update every week during a presale window costs almost nothing and eliminates the most common source of buyer regret.
Build your design system before you build your first product. A modular approach with a defined palette, type system, and master file structure means every new product takes hours instead of days. That efficiency is what lets you respond to community feedback quickly and keep your line feeling fresh without burning out your creative team.
— Neville
Vainnewyork’s approach to merchandise that means something
Vainnewyork designs merchandise as a creative statement, not a catalog item. Every piece in the collection reflects the same principles covered in this article: technical quality, community relevance, and design systems built to last beyond a single season.
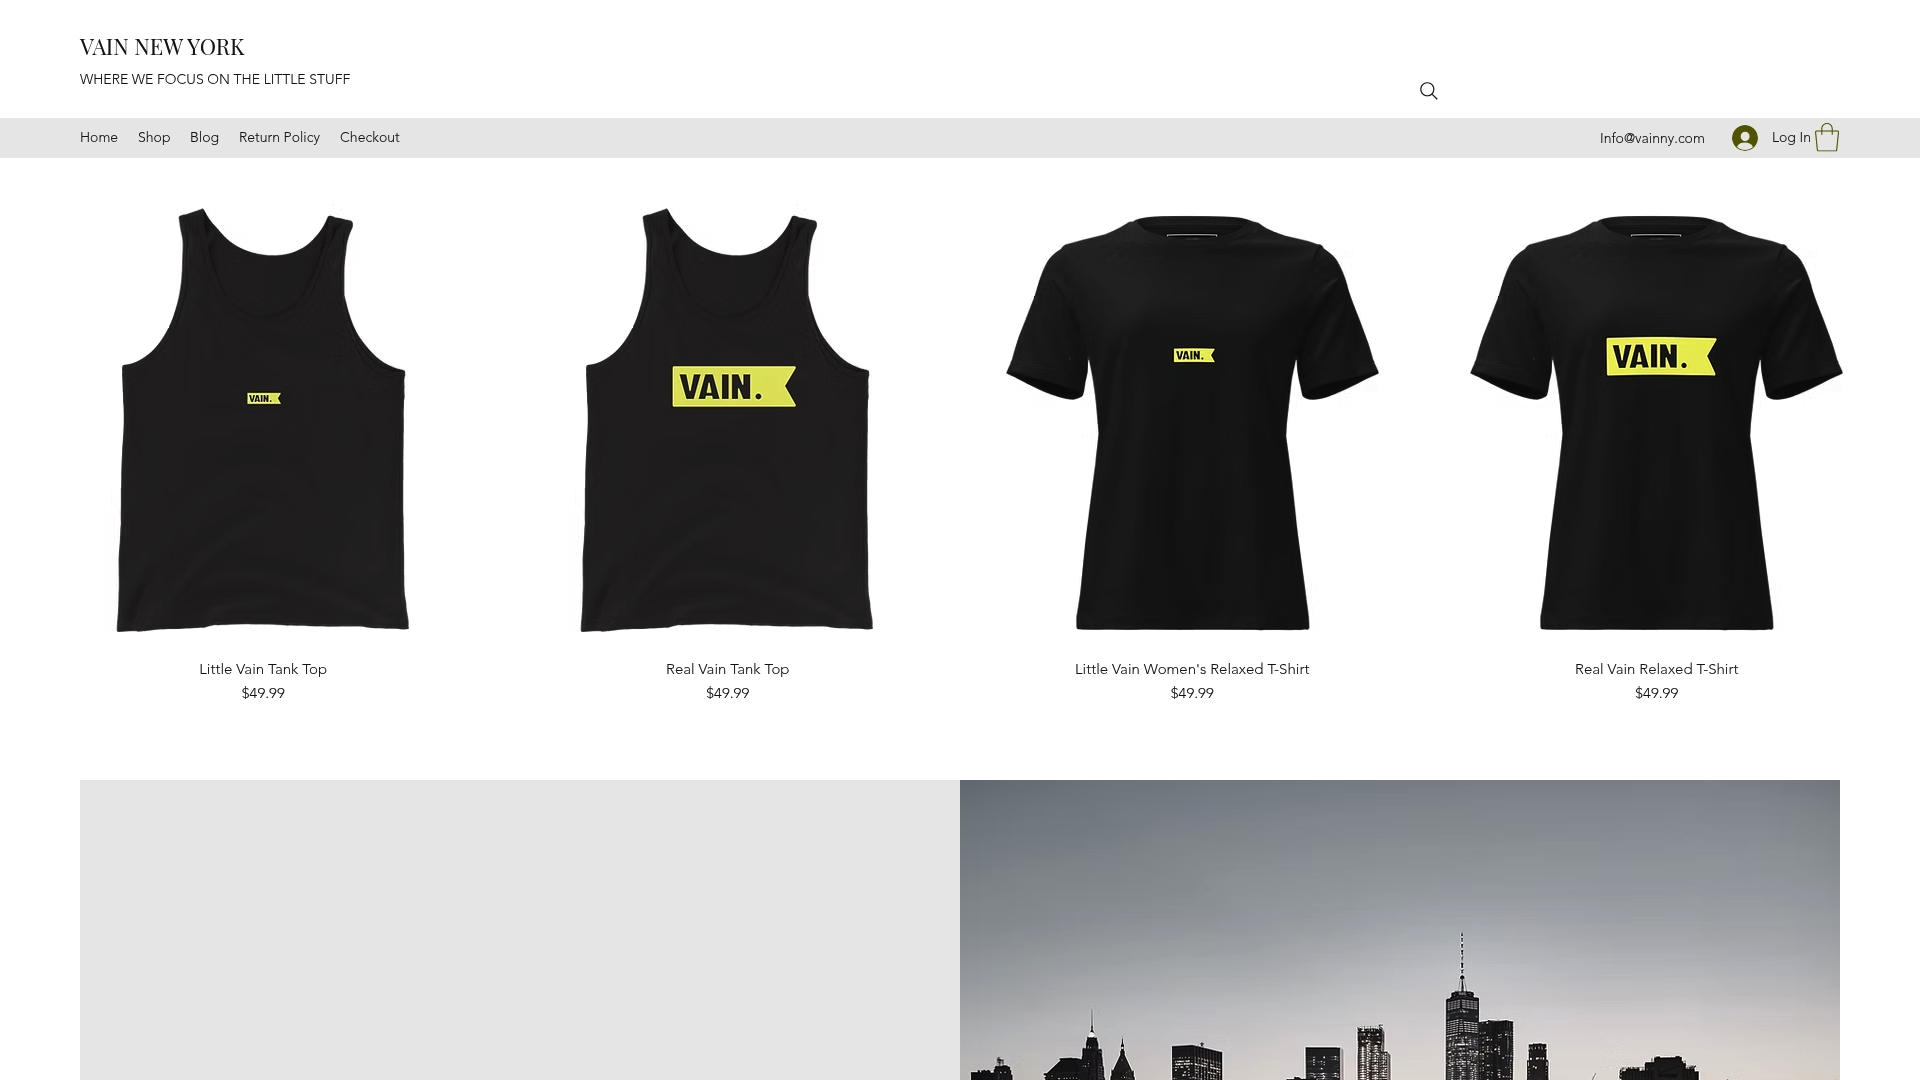
Designers and brand managers who want to see these principles applied at a high level can browse the Vainnewyork shop for a firsthand look at how brand identity and product design work together. From apparel to accessories, each item is built with the same attention to print quality, wearability, and storytelling that defines effective merchandise. If you are ready to explore what a well-designed product line looks like in practice, the brand identity examples Vainnewyork has published offer a strong starting point for your own creative process.
FAQ
What resolution do merchandise design files need?
Design files for print-on-demand merchandise must be at least 300 DPI, with a recommended size of 5,000 x 5,000 pixels in PNG format with a transparent background for optimal print quality.
How many units should a first merchandise drop include?
The most effective micro-drop strategy releases 100–250 units per SKU for apparel, paired with a 72-hour purchase window following a two-week pre-launch period to build urgency and manage inventory risk.
When should a brand shift from print-on-demand to bulk orders?
Shift from print-on-demand to bulk production once a design sells 50 units. Bulk orders reduce per-unit cost significantly and improve margins without requiring a price increase.
How often should brands communicate with customers during a presale?
Send production updates every 7–10 days during pre-sale or long production windows. Regular communication reduces buyer anxiety, lowers chargeback rates, and builds trust through transparency.
What is the biggest mistake in fan merchandise design?
Over-logoing is the most common and damaging mistake. Fans prefer wearable apparel with subtle branding or community-specific symbols over products that function primarily as advertising.
Recommended
Comments